MAKING OF.
How I edited my photo "Chief"
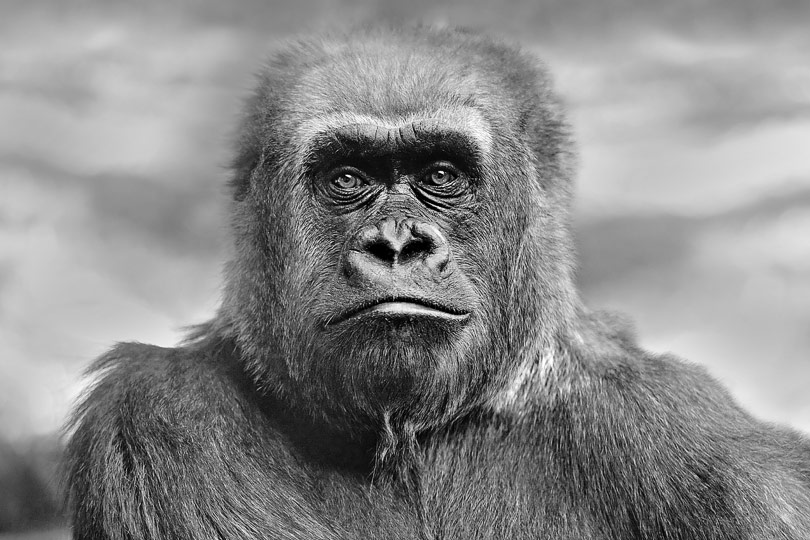
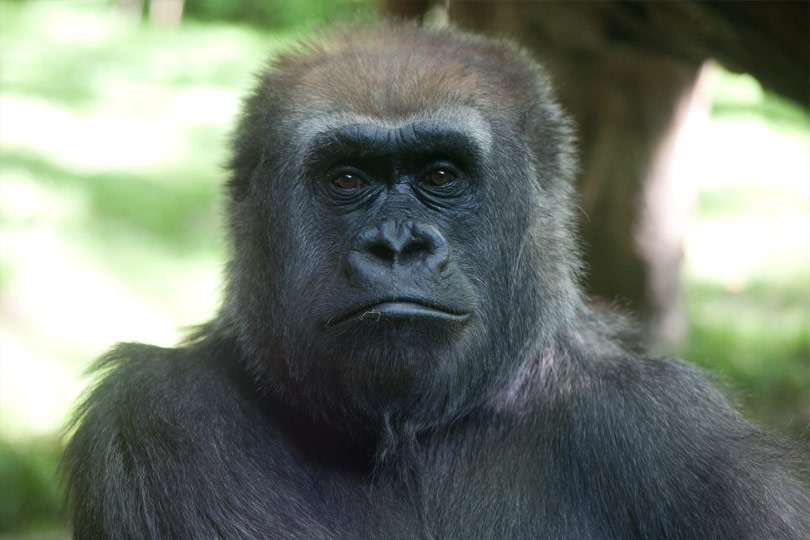
The photo originates from the New Yorker Bronx zoo and shows the portrait of a gorilla. When I took the picture I was immediately aware of the fact that the distracting background had to be adjusted and the face had to be modelled out. The idea of converting the image into black and white came to me later during the editing process.
01
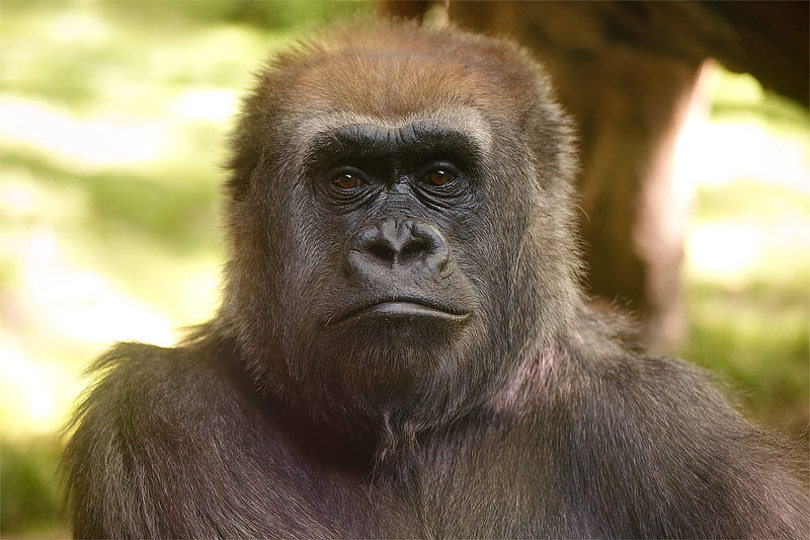
The first step is done in Adobe Camera Raw. I move the white balance slider in the warm direction, brighten up shadows and increase contrast.
02
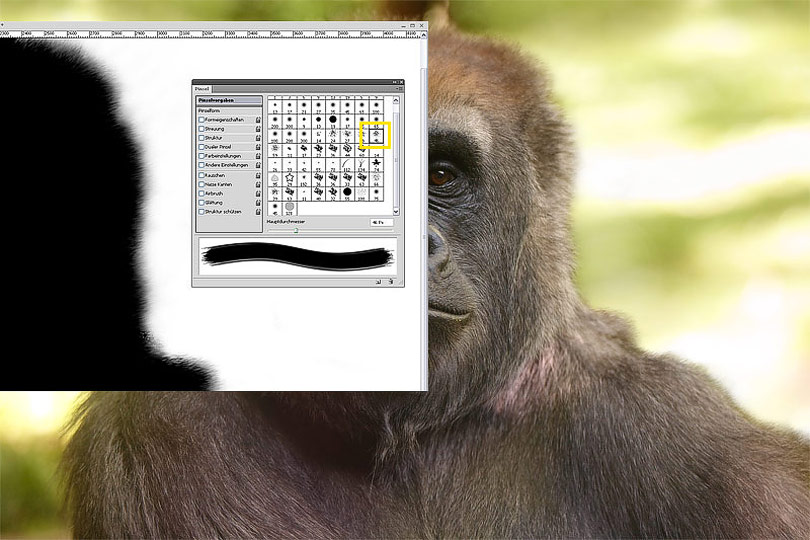
In the next step the background is blurred out while the structure is preserved. I copy a part of the left background and paste it on a new layer over the right side of the image. As the gorilla is partially covered by the background I use a layer mask. For the fur edge I choose the smudge tool with a dissolved brush and paint in the mask along the black edge to get a smooth transition.
03
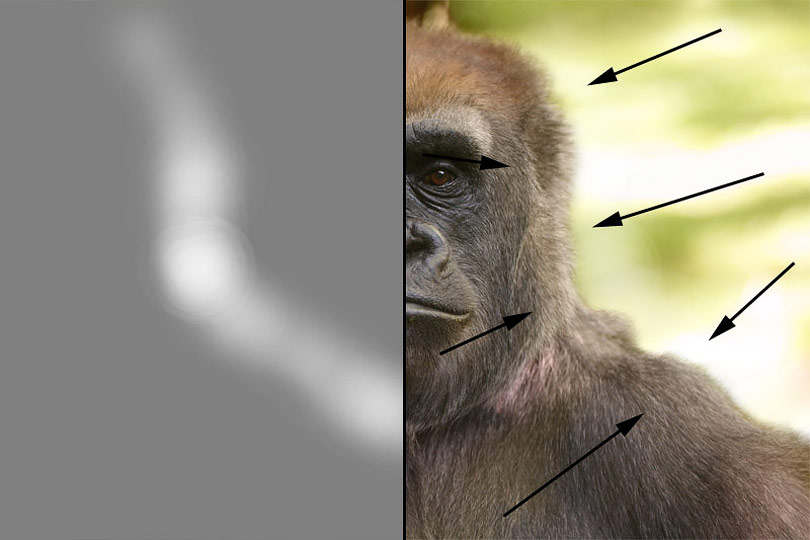
Since light comes from the right direction, the fur has to be lightened up on this side as it is too dark because of the old background which was removed in the last step. I create a new layer, fill it with 50 percent grey, set layer mode to "Soft Light" and paint with a white, soft brush on the area which shall be more bright.
04
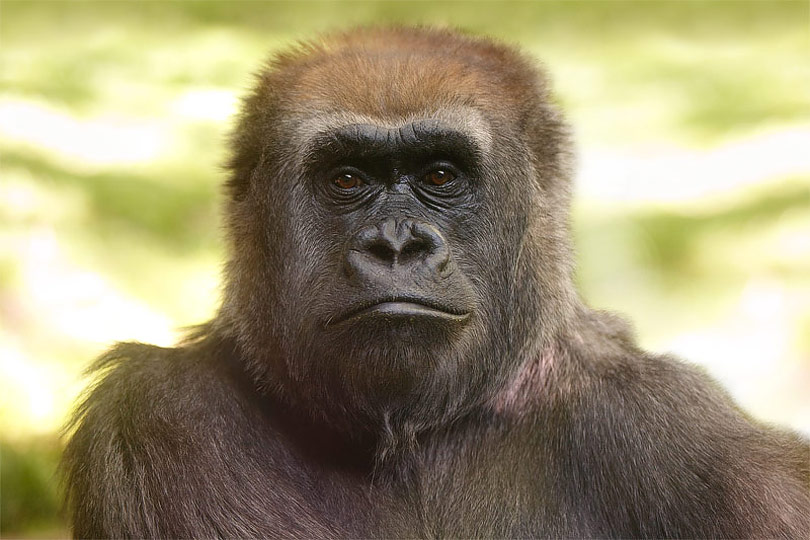
With the same method I get rid of the small part of the background over the Gorilla's head.
05
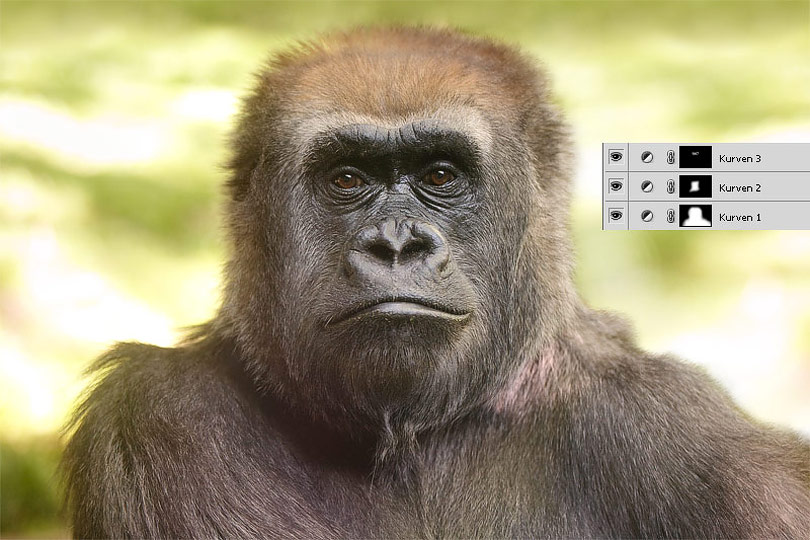
With the help of three adjustment layers "Curves" I brighten up the face. In the layer mask I limit the effect on certain parts: the first layer affects the whole Gorilla, the second one the face and the third one only the area of the eyes.
06
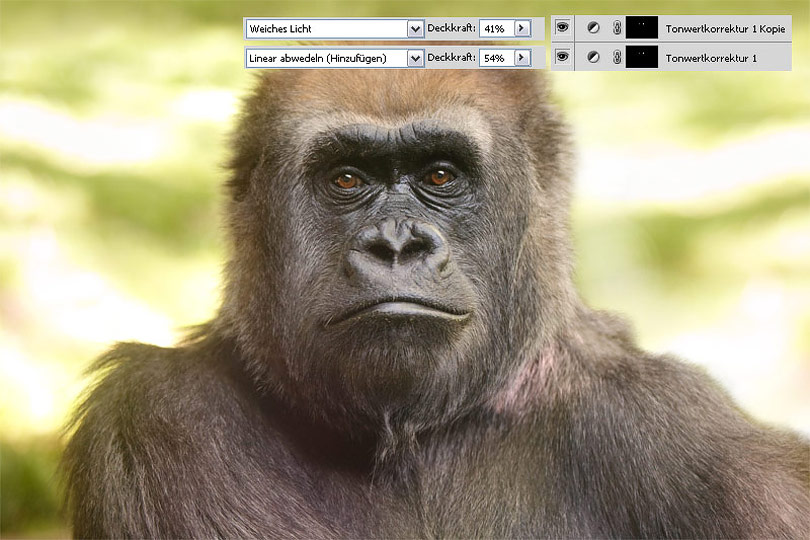
The eyes are enhanced with two adjustment layers "Levels". On the first layer the layer mode "Linear Dodge (Add)" is applied and the opacity is set to about 50 percent, the second one gets "Soft Light" with about 40 percent. Due to the layer masks, the effect is only visible on the eyes.
07
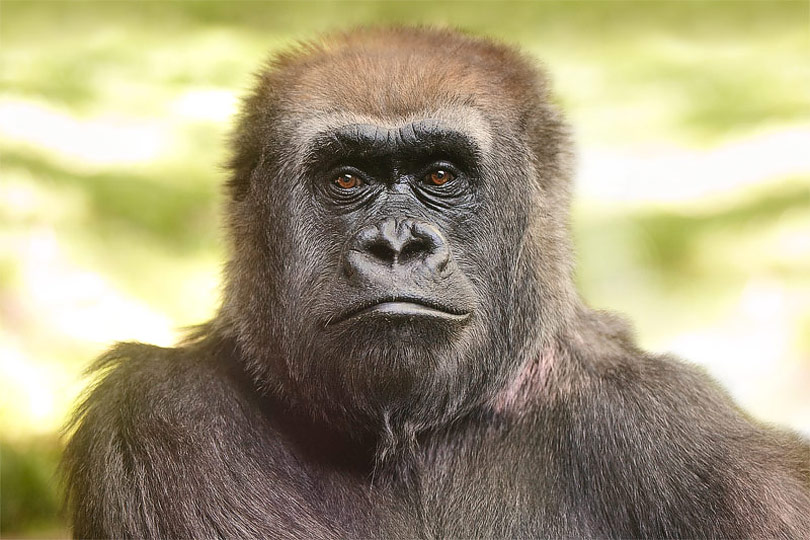
Details on the gorilla are enhanced: All layers are copied and merged to a new layer which is set to the layer mode "Overlay". Then I use the high pass filter with a radius of about 2-3 pixels.
08
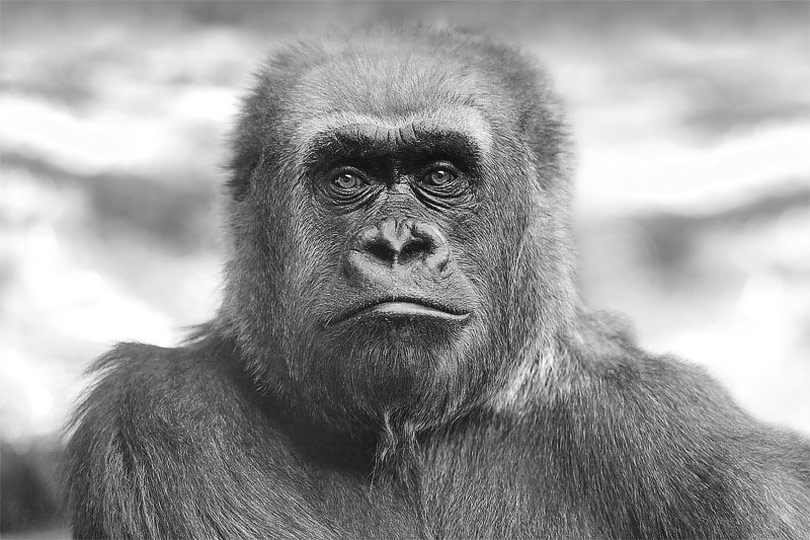
As the background still gets too much attention I decide to convert the image to greyscale by the help of an adjustment layer "Black and White".
09
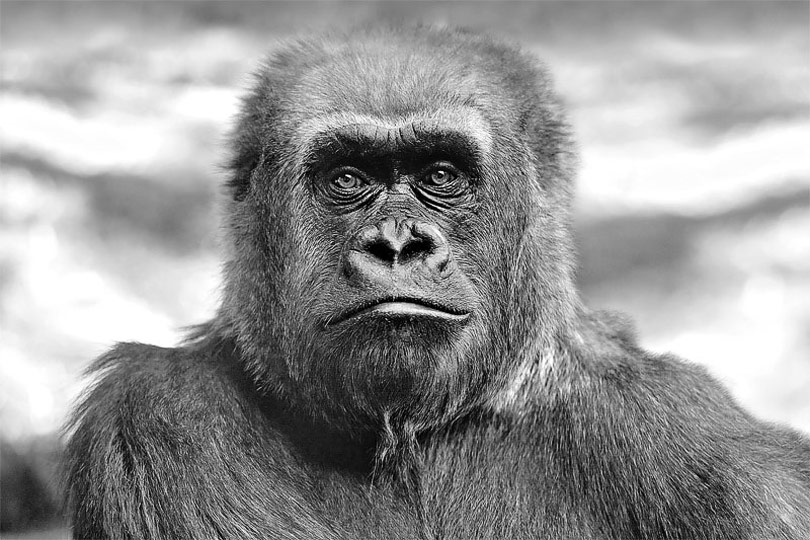
I increase the local contrast with the unsharp mask filter using a low amount of 30 percent and a very high radius of 60 pixel. I reduce the opacity until I am satisfied with the result.
10
As the background still gets too much attention I tone down the bright areas with a low opacity clone stamp.
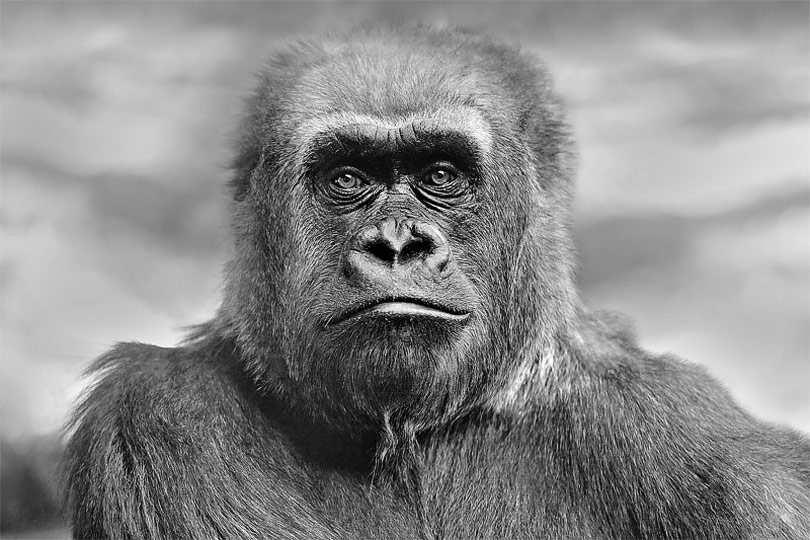
11
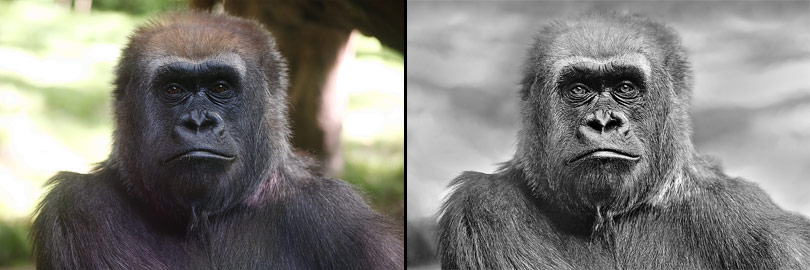
Move the slider to compare the original photo with the final result (Mozilla Firefox). In the Internet Explorer alternatively click on any position.
