MAKING OF.
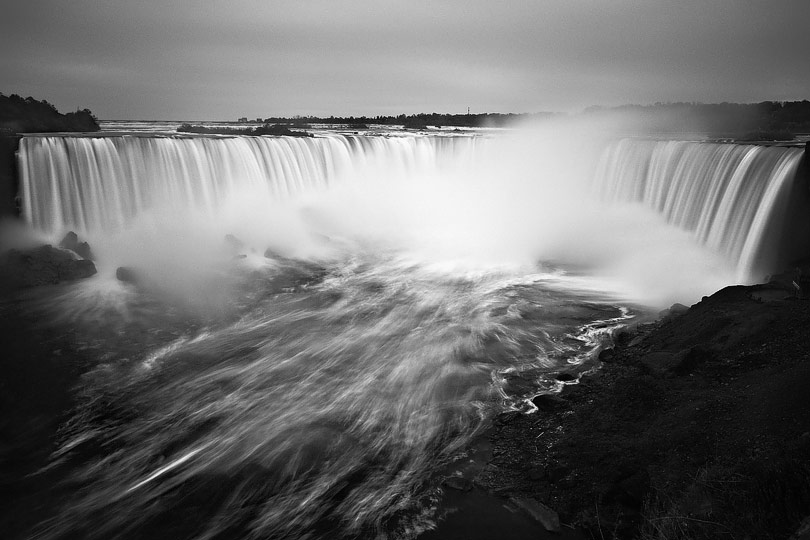
How I edited my photo "Niagara Falls"
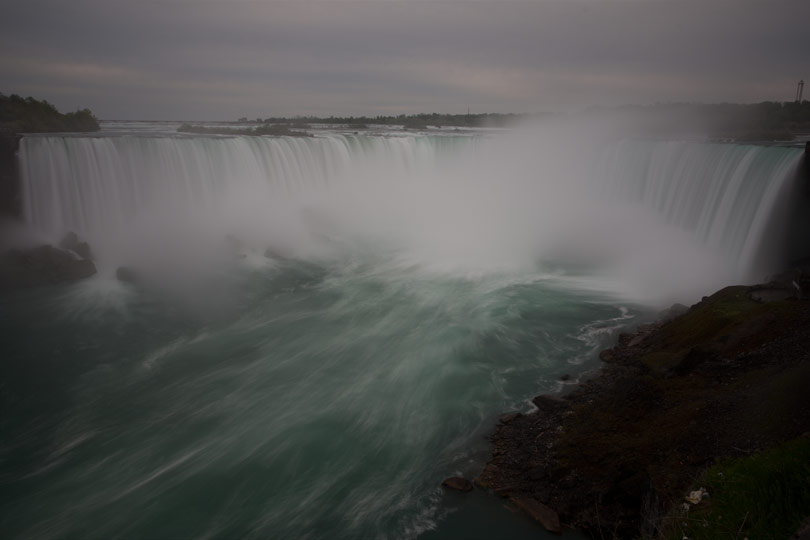
I took the photo on an observation deck close to the Canadian horseshoe falls. Exposure was five seconds, aperture f/8.0 with the help of a neutral density filter ND400. The image is way too dark and lacks contrast. My intention was to create a high contrast and high clarity black-white conversion.
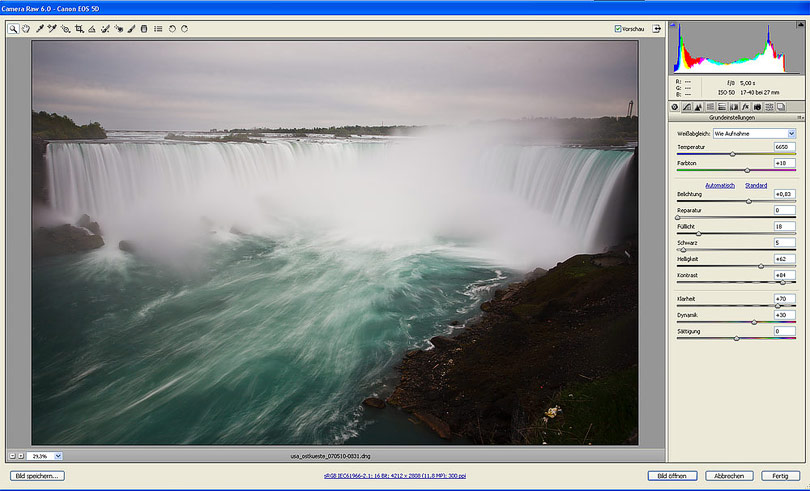
01
In the first step I make global adjustments in Adobe Camera Raw. Exposure, brightness, fill light, clarity and contrast are affected.
02
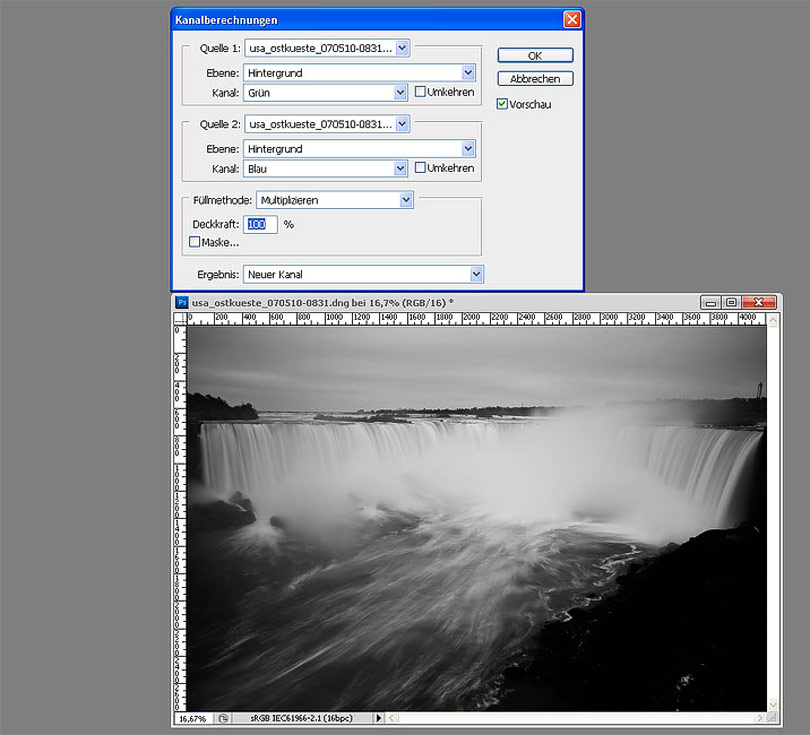
The black-white conversion is the next goal. I choose "Image - Calculations" and have a look which channel combinations end up in a good result. In this case I combine the green and the blue channel in multiply mode.
03
To enhance the structure of the water I combine both the green and blue channel again, this time in linear burn mode and 30 percent only.

04
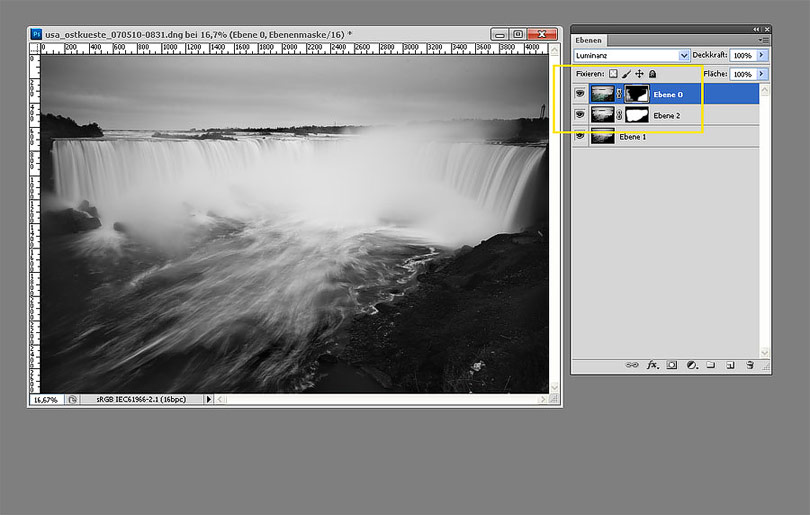
Now I have two channel calculations which are copied from the channel palette to the layer palette. The originally colored layer is positioned at top with luminosity mode. With the help of a mask I hide out all image data except some details in the shadows. With another mask I combine the best parts of the two black-white layers.
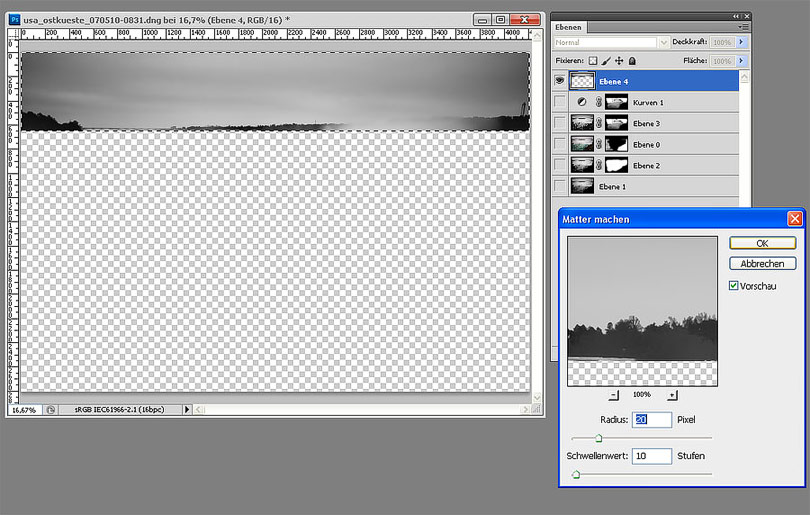
05
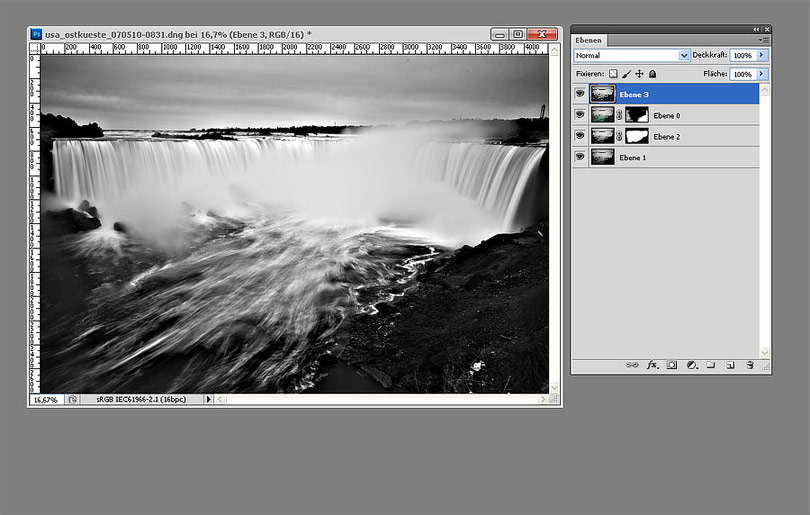
All layers are merged together (CTRL/CMD-SHIFT-ALT/OPTION-E) and get unsharp masked with an amount of 30 percent and a radius of 60 px. This step creates a strong midtone contrast.
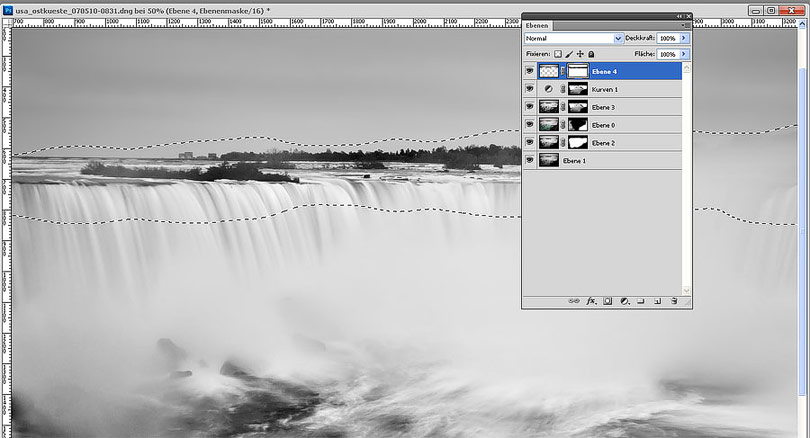
06
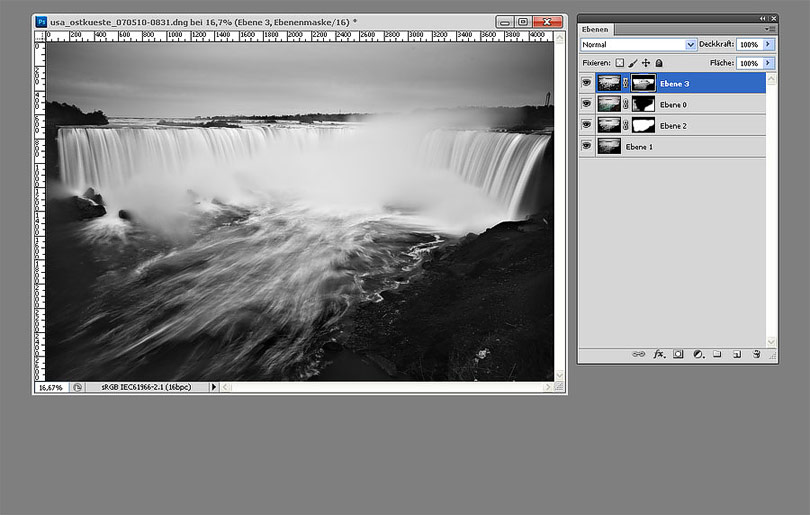
This hard contrast is applied to a few areas only, I use a mask again.
07
Contrast in water is enhanced with a s-curve, the mask is copied from the previous step.

08
Unintentionally blurred parts like the trees are recovered with a mask.
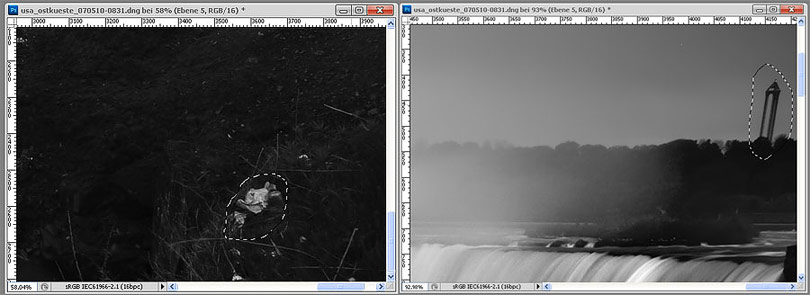
09
With the spot healing brush tool I remove elements which draw too much attention and distract the viewer.
10
With the spot healing brush tool I remove elements which draw too much attention and distract the viewer.
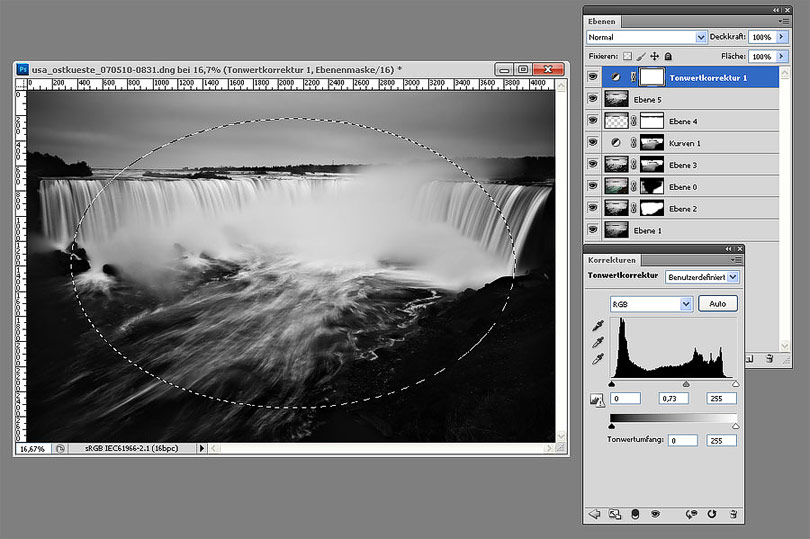
11
Finally I create a vignette: I use the elliptical marquee and levels to accent the center of the image with its falls.
12
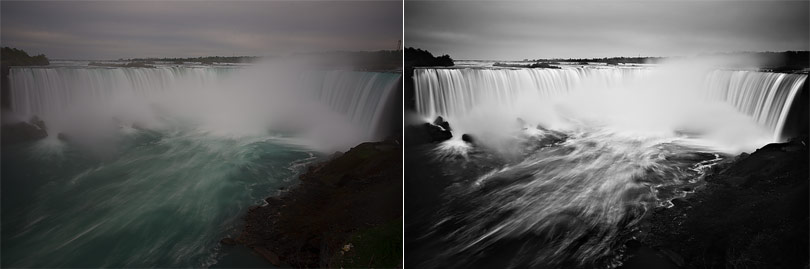
Move the slider to compare the original photo with the final result (Mozilla Firefox). In the Internet Explorer alternatively click on any position.